Webhooks
Prerequisite: Circle Business Edition.
A webhook is an event-driven mechanism that allows one application to send real-time data to another application via HTTP callbacks. Webhooks allow communication between applications by triggering events when specific actions occur.
The main advantage of the webhooks pattern is that your application doesn’t have to make periodic calls to APIs while it’s waiting for changes. Instead, APIs will call your application on a specific endpoint informing that something interesting has happened.
Triggered webhooks allow Circle to communicate with external services in order to broaden its customer communication capabilities. This communication is inbound - webhooks trigger workflows in response to specific events from the outside into Circle.
When the webhook is activated, the third-party system sends a signal to Circle to communicate that an event has occurred, and as a result the touchpoint is triggered or the data source is updated.
Triggered webhooks can work with external touchpoints to allow both inbound and outbound communication.
Webhooks can work with triggered touchpoints only.
Circle supports three types of webhooks:
-
Trigger only: When an event occurs in the third-party system, the touchpoint is triggered.
-
Insert & trigger: When an event occurs in the third-party system, a new recipient record is added to the data source and the touchpoint is triggered.
-
Update & trigger: When an event occurs in the third-party system, a new recipient record is updated in the data source and the touchpoint is triggered.
Set up a webhook
-
Choose a trigger event – decide which event in the chosen platform should trigger the webhook. For example, a newly crated lead, closed deal, friend request or form submission.
-
Decide which touchpoint and action in Circle should be triggered by the event (insert/update/trigger).
-
In the Plan tab, place the triggered touchpoint in the diagram.
-
Move to the Build tab, and set the touchpoint's production settings.
-
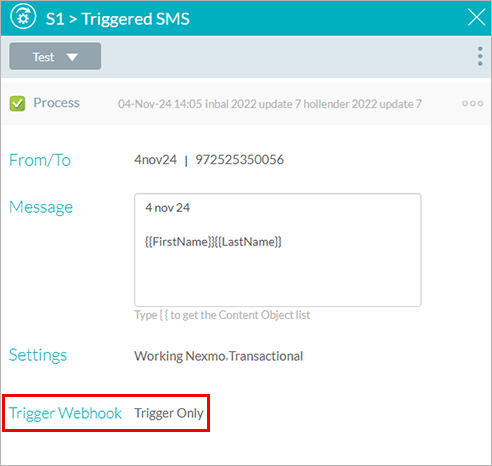
In the production window, click Trigger Webhook.
-
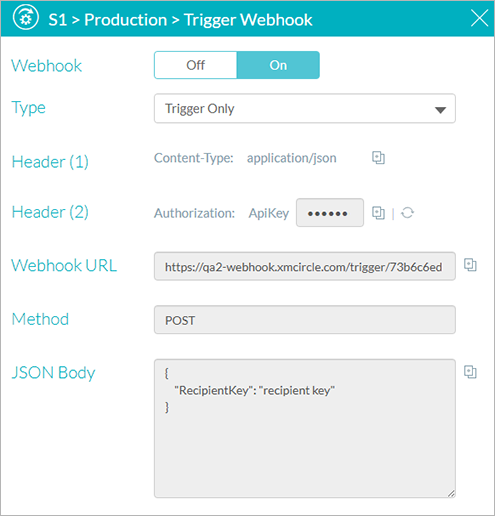
In the Trigger Webhook window, activate the webhook by clicking On.
Circle automatically generates the API key and webhook URL
Note that if this touchpoint has been duplicated, the triggered webhook settings will not be copied.
-
Set the webhook type:
-
Trigger only: Triggers the touchpoint as a result of an action in the third-party system.
-
Insert & trigger: Triggers the touchpoint and inserts a new recipient in the data source.
-
Update & trigger: Triggers the touchpoint and updates an existing recipient in the data source.
-
-
The JSON body can be automatically created by Circle (Circle Expected Payload), or custom created (Custom Mapping Payload), in which case you will need to copy the payload from the third-party system, and then match the content objects manually.
-
The Authorization method in the header can be one of two: API key, Bearer. In addition, you can include the authentication in the query string. by selecting the appropriate checkbox.
Note that including the authentication in the query string is not the best practice, however, some major third-party systems may require it.
-
Copy the webhook parameters (headers, webhook URL and JSON body) and place them in the third-party system.