Microsoft SSO Integration
Customers who host uProduce outside of their on-premise environment can use Microsoft Single Sign-On (SSO) to authenticate directly with their Identity Provider (IdP) using their Microsoft account credentials.
This article provides the configuration steps you need to take in order to use Microsoft Single Sign-On (SSO).
Prerequisites:
-
You have an Active Azure AD Subscription.
-
You have permissions to create an App Registration in your Azure portal.
-
The users signing in are part of your Azure AD tenant.
-
You have a valid XMPie license that includes Microsoft SSO.
-
Your IIS server must have secure protocols enabled, and a valid SSL certificate must be installed and bound to the website.
Register an application in Azure AD
-
Go to the Azure portal and sign in.
-
In Azure Active Directory, search for App registrations.
-
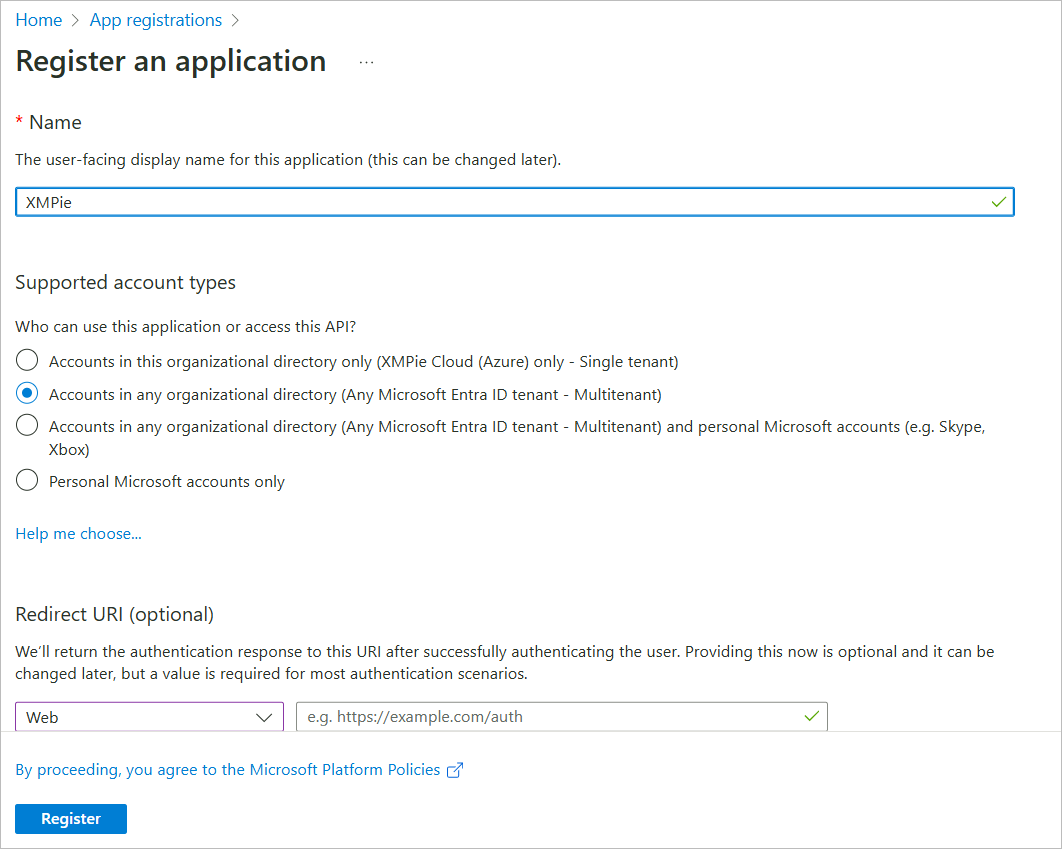
Click New registration to open the Register an application window.
-
Fill in the following:
-
Name: Your company name.
-
Supported account types: Select the “Accounts in any organizational directory” option.
-
Redirect URI: Select Web as your platform, and fill in your redirect URI in this pattern:
https://YOUR_DOMAIN/XMPieSSO/signin-oidc
-
-
Click Register.
Set API permissions
-
On the left panel, select Manage > API permissions.
-
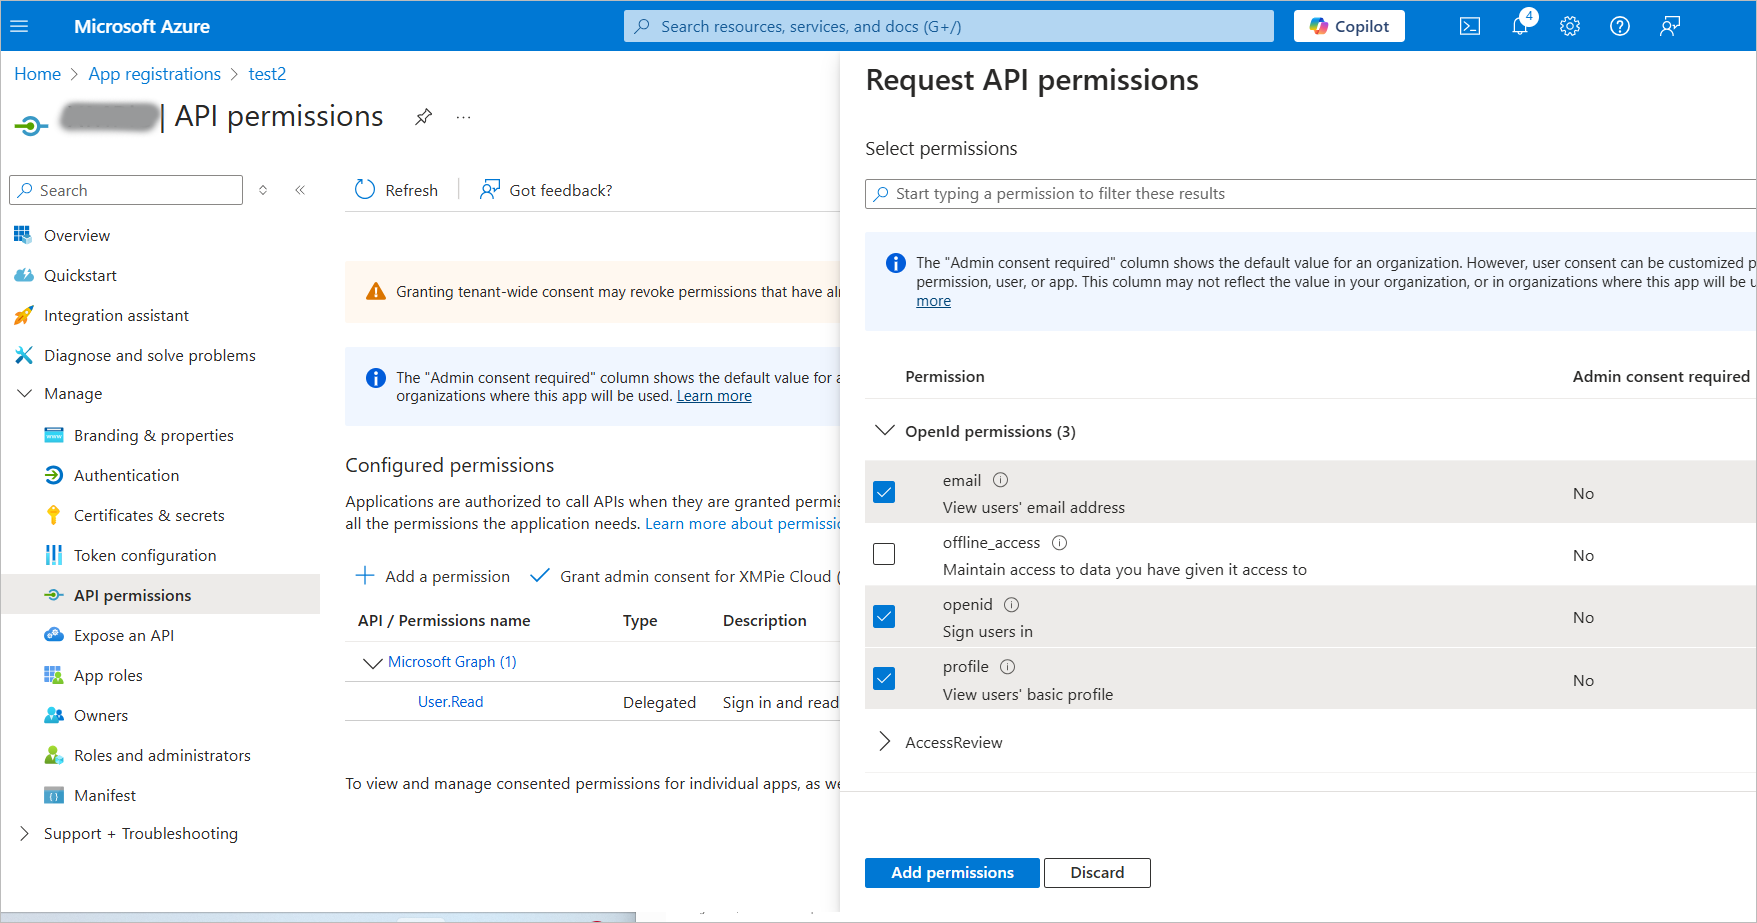
Click Add a permission.

-
Click Microsoft Graph > Delegated permissions.
Select the following permissions: profile, openid, email.
-
Click Add permissions.
-
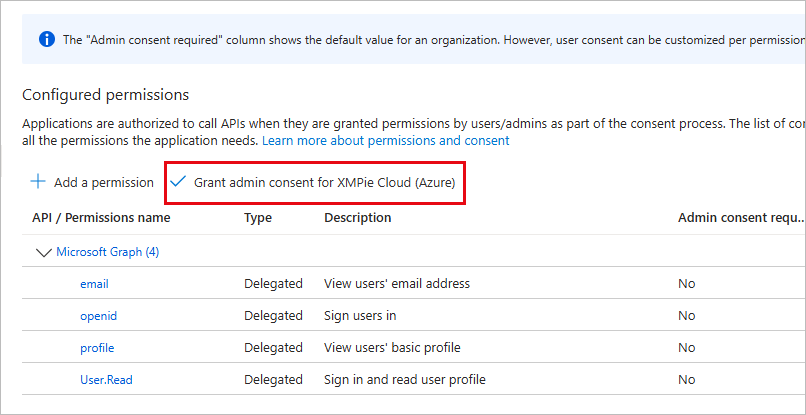
Click Grant admin consent, and then click Yes in the consent confirmation popup.
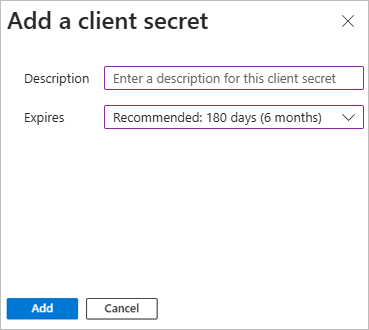
Generate a client secret key
-
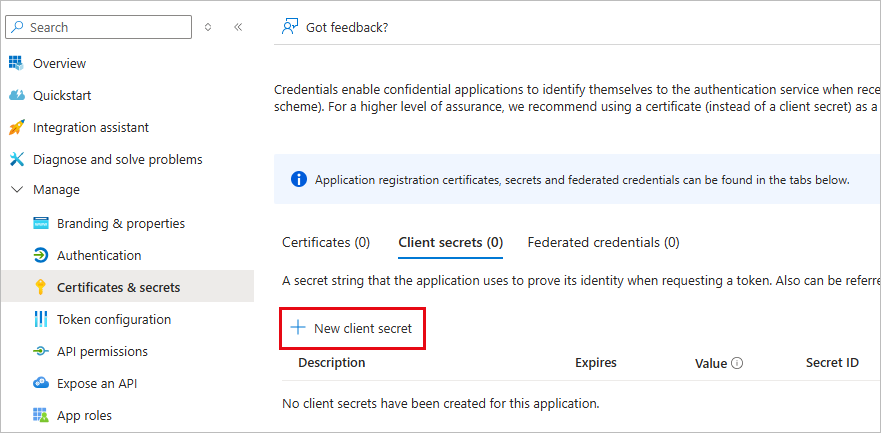
On the left panel, select Manage > Certificates & secrets.
-
Click New client secret.
-
Add a description and expiration of the client secret.
-
Click Add.
The value of the client secret is generated.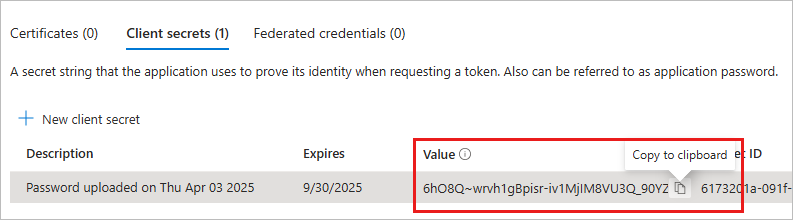
-
Copy and save the secret value - you’ll need it later.
Note that if you do not keep this value, you will not be able to access it later.
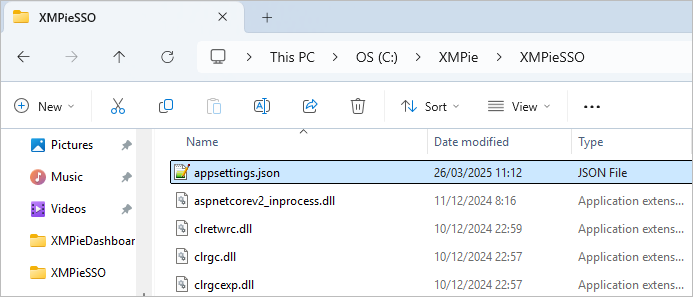
Configure appsettings.json
-
After installing uProduce, navigate to C:\XMPie\XMPieSSO and open the file appsettings.json.
-
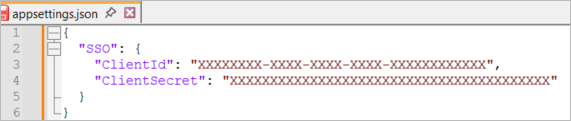
Open the JSON file, and replace the ClientID and ClientSecret with your own Azure AD app values.
-
The ClientID can be found here:
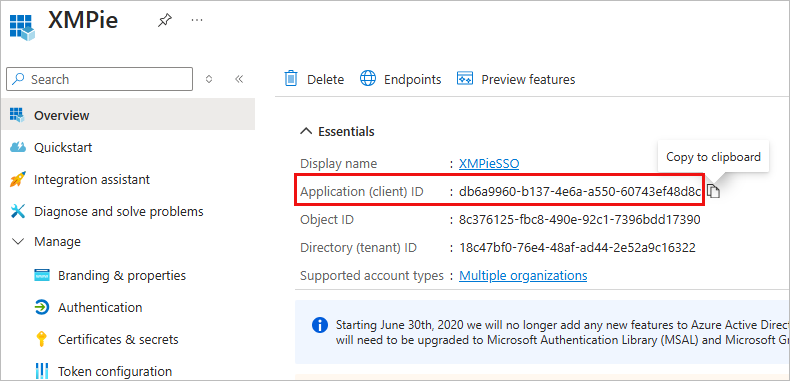
-
The ClientSecret is the value that you’ve saved in the previous procedure.
-
-
Save the appsettings.json file and restart the web server.
Configure uProduce SSO users
After completing the Azure AD setup, you must register the new Microsoft SSO users in uProduce. Repeat this step for each new SSO user.
-
Log in to uProduce with an admin user.
-
On the menu bar click Settings > Users.
-
Click New.
-
In the New User dialog, select Built-In Windows Domain as the authentication type, and set the Login Name to match your Windows domain, for example: Your_name@example.com
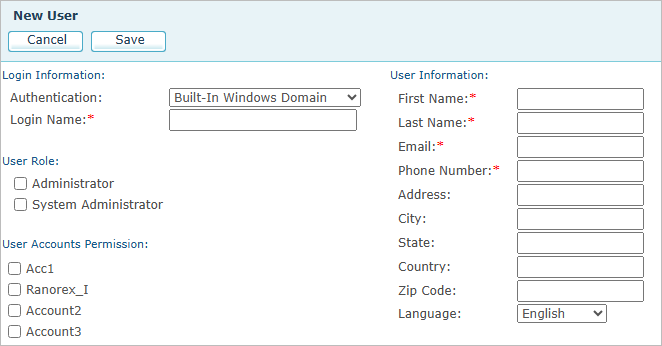
-
Enter all other settings, and click Save.
Created by: Tal Hayne on April, 2025