Tagging a Design Object with a "Multi-Page PDF Table" Content Object
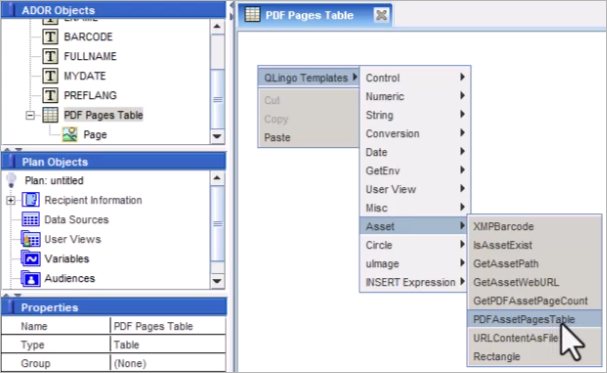
This topic describes a built-in process for inserting a multi-page PDF into the design directly through uCreate Print or uPlan using the PDFAssetPagesTable function.
The PDFAssetPagesTable function creates an InDesign table where each row of the table is a page in the PDF. When combined with Auto Flow, you can easily create a document with all pages of the PDF, and overly it with text, graphics or variable data.
This feature leverages uStore’s dynamic products that use the File Attachment dial, allowing customers to upload a multi-page PDF and have it printed with personalized elements like name and address.
To create a "Multi-Page PDF Table" content object:
-
If you wish to use this capability in uStore, create a text variable and set it as a campaign dial. The variable should include the PDF file name.
-
From the Dynamic Content menu, select Assets and set the assets folder so uCreate knows where to find the PDF.
-
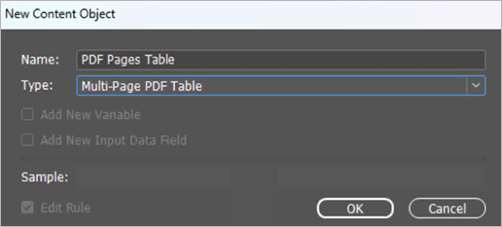
Right-click the Dynamic Content panel, and select Add New Content Object.
-
From the Type list, select Multi-Page PDF Table to create a table from a multi-page PDF.
-
In the Edit Content Object dialog, select the PDF asset, or the variable created in step 1.
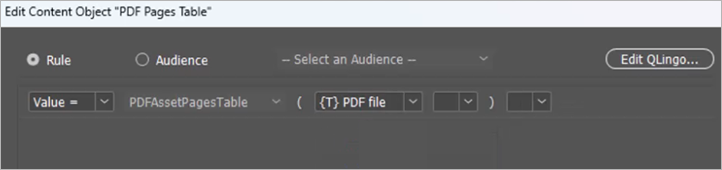
The table is created automatically with one graphic column.
-
To place the Multi-Page PDF Table content object in the PDF, create a text box. Place the cursor in the frame, and double-click the content object.
You will see the first page of the PDF in the first row of the table. Accordingly, each row corresponds to each page of the PDF.
-
Apply Auto flow to the text frame so that each of the PDF pages appears as a separate page in the InDesign document.
Note: If you prefer, you can use the PDFAssetPagesTable function in uPlan.