Creating a Proof Set
You can use uCreate Print to create a proof set that will be used by other team members who wish to check the design document with real values.
When uCreate Print creates the proof set file, it replaces the content objects' placeholders with a set of actual values for each recipient. When it creates a proof set, uCreate Print takes these values from the source you are currently using to proof your document. For example, if you are currently using a data source file to proof your document, the values of the proof set records will be taken from the data source file. If you are using content samples to proof your document, the proof set will be created using the content sample values.
To create a proof set file:
-
From the Dynamic Content menu, select Generate VDP Output.
-
From the Format list select Proofset.
-
Click OK.
The proof set file is created. Double-click it to open it in the Proof Set Viewer.
Use values from a proof set
You can use uCreate Print to open a proof set file created using XMPie products. The proof set allows you to view the set of data values calculated for each recipient, as they are positioned in your design file. The content objects of your document will be replaced with the actual data and values for each recipient, as contained in the proof set.
Note: While linked to a proof set, if you create new content objects, delete content objects, or change the type of content objects, your proof set will be incompatible with these changes. To avoid inconsistencies, you will be unlinked from the proof set.
To view your document with proof set values:
-
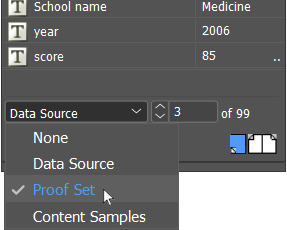
At the bottom of the Dynamic Content panel, select the Proof Set option.
-
Click the Link to Proof Set
 icon to
select the proof set file.
icon to
select the proof set file. The Select a Proof Set file dialog opens.
-
Locate and select the proof set that corresponds to the content objects currently defined in your document.
The record scrolling box is displayed in bottom area of the panel.
-
Use the arrows
 to choose the record you want to preview in the design. The dynamic objects
in the design are replaced with the values from the proof set.
to choose the record you want to preview in the design. The dynamic objects
in the design are replaced with the values from the proof set. 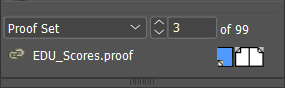
-
From the Dynamic Content menu, clear the Highlight All Content Placeholders option to view a copy of the design, as it will appear after composition.