Configuring Touchpoints and Associating Them with Events (Jobs)
Touchpoints may be added and associated with events (jobs) in two ways:
-
Via the job definition: In the Tracking section of the Process page and Send Email Marketing page.
Note that port jobs are not associated with touchpoints. -
Via the job center: In the Tracking section of the Details pane. For more information, see Using the Job Center to View Tracking Details and Associate Jobs with Touchpoints.
To associate a job (print or email) with a touchpoint:
-
Create a new touchpoint by choosing one of the following:
-
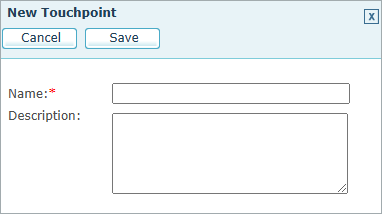
In the Job Definition’s Tracking section, click New.
The New Touchpoint dialog is displayed.
-
In the Job Center’s Tracking section, click Edit.
-
-
Configure the touchpoint settings:
-
Select existing (Edit Touchpoint window only): Choose one of the existing touchpoints from the list (default is None).
-
Create new (Edit Touchpoint window only): Add a new touchpoint, by enabling the name and description fields.
-
Name (mandatory): Enter a name that identifies the new touchpoint.
-
Description (optional): Enter free text that describes the new touchpoint.
-
-
Click Save.