Setting Up JDF Nodes
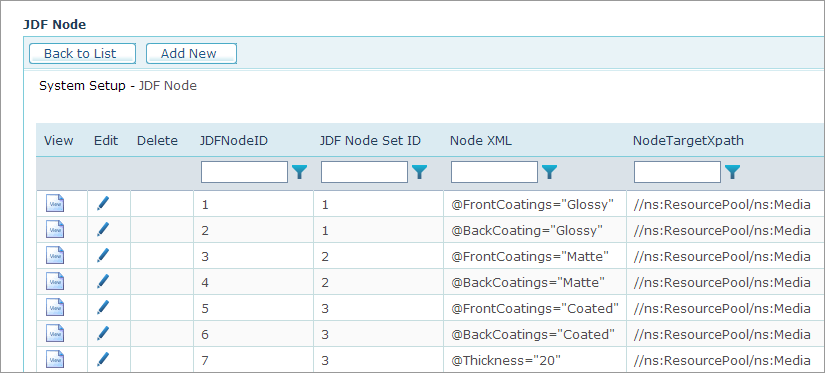
After you create the required JDF node set, you need to add the XML code that defines the property parameters.
When the JDF node represents an attribute, add a @ at the beginning or the XML snippet.
To add a new JDF node:
-
On the toolbar click Presets, and then select System Setup.
-
In the System Setup list, click JDF Node.

-
On the JDF Node page, click Add New.
-
In the JDF Node Set ID list, select the JDF Node Set that you want to set up.
For example, if you create a JDF Node Set for 3-hole ring binder, select the RingBinding node set.
-
In the Node XML box, enter the XML code for the new JDF node. For example, enter
@HoleType="R3-generic".
You can find the required XML code online in the JDF Specifications document. -
In the Node Target Xpath box, enter the location of node in the JDF file. For example, the HoleType attribute should be located at
//ns:ResourcePool/ns:Media. -
Click Save.
The new node set is added to the list. Every time a product includes this property option, the XML code will be added to the JDF file.
For your reference, uStore saves all JDF files at \\[ServerName]\App\JDF.
