Working with a Document Connected to Circle
You can perform the following management operations:
Edit a rule
-
Right-click the content object you wish to edit and click Edit Rule.
-
In the rule editor window, edit the rule and click OK.
-
To save the rule on Circle and update the plan file, select Save to Server from the Dynamic Content menu.
The Save on XMPie Server dialog is displayed.
-
Edit the document name if you wish to create a new document with this name. If you just wish to update the existing document, leave the default name.
-
Select the document format (the default format is Adobe InDesign (*.indd).
-
Select if you wish to upload fonts.
-
Click Save.
Manage assets
You can connect your document to another existing asset source on Circle or create a new asset source. Once the asset source is selected, you can upload new assets to it.
To modify the asset source and manage assets:
-
From the Dynamic Content menu, select Assets.
The Manage Assets window is displayed.
-
From the Asset Source list, select an existing asset source. To create a new asset source, click New. When clicking New, the Create New Asset source window is displayed.
-
Enter the asset source name and click OK.
The new asset source is added to the list and is selected in the asset source field.
The asset source selected in the Manage Assets window will be used as a default asset source when editing graphic or text File content objects.
Note: It is possible to select inactive asset sources. However, these assets will not be used in production. To use these assets in production, go to Circle and activate the asset source.
-
To add a new asset, click the Upload button, browse for the asset file and click Open. You can upload multiple assets at once or upload a ZIP file. The new assets are added to the assets list. Selecting the asset displays its preview.
-
To delete an asset, select the asset and click the Delete button.
-
Click Done.
-
Save the document on Circle.
Use Circle assets in content objects
When creating or editing an content object, you can use assets stored on Circle in the content object rule. This is possible for image and text file assets.
To use an asset in an content object rule:
-
Create a new content object or edit an existing one.
-
In the New/Edit Content Object dialog, define the content object name and select its type (graphic or text file).
-
In the rule section, select Graphic = or Text File = in the first list and then in the second list select Browse.
-
From the Asset Source list, select an asset source. You can click the Manage button to go to the Manage Assets window where you can select a different asset source and upload or delete assets.
-
From the Graphic File/Text File drop-down list, select an asset that you wish to add to the current content object rule.
-
Click Select. The asset name is added to the content object rule.
Work with uImage packages
When working connected to Circle, you can define a graphic content object that references a uImage package.
Note: When working connected to Circle, it is not possible to reference a uImage template (Photoshop and Illustrator).
To add a graphic content object that references a uImage Package:
-
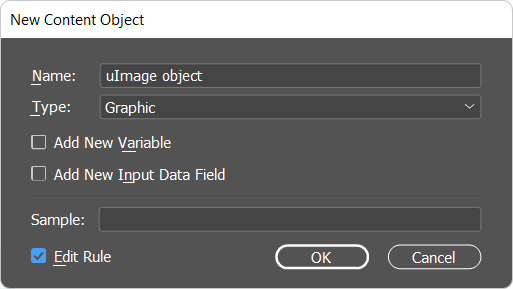
Open your document, right-click anywhere in the Dynamic Content panel and select New Content Object.
-
In the New Content Object dialog, enter a name for the new content object (for example, the name of the uImage template it references), from the Type list select Graphic, and then select the Edit rule checkbox to open the rule editor.
-
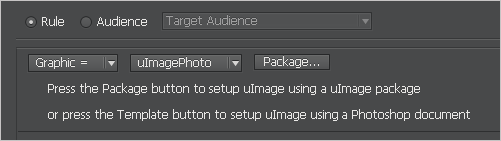
Configure the dialog as follows:
-
Click Package.
The uImage Settings dialog is displayed, allowing you to specify the package’s production parameters.
-
From the Template Package list, select an existing template package or click New to upload a new package. When clicking New, the Upload Template Package to Server window is displayed.
-
Click Browse to select the template package (*.dpkg file) and then click OK.
-
Specify additional uImage settings, as described in Referencing a uImage Document Package.
Note: The Output Folder field is disabled when working connected to Circle.
-
Click OK.
The uImage package properties are displayed in the New Content Object dialog and the uImage package is automatically uploaded to the assets folder on uProduce.
Work with a document connected to a plan
When working with a Circle document connected to a plan, you can edit the plan in uCreate Print’s rule editor with no need to open the uPlan application.
For more information on working with a rule editor, see Managing Content Objects and Variables.
Once you finish editing the plan, save your document on uProduce. The plan file on Circle will be updated.