
 View what's in this topic
The Dynamic Content Panel
The Dynamic Content panel is usually displayed automatically when you launch InDesign, on the right hand side of the application.
If the panel does not appear, you can display it by clicking the Dynamic Content menu, and then selecting Show Window > Dynamic Content.
If you do not have an InDesign document open, or if your document does not contain dynamic content, the Dynamic Content panel shows the following:
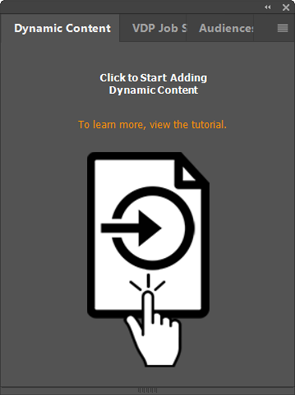
Once clicking the icon on the panel, a dialog box opens where you can link your document to a data source file, a counter, a plan, or manually define objects (content objects, variables and input data fields).
After the document is linked to data, content objects are automatically created from the linked data fields and displayed in the Dynamic Content panel.

The data column shows the content object value after a rule has been applied, if a rule exists. (This column can be shown or hidden from the Preferences dialog.)
You can rearrange the order of the content objects, variables and input data fields on the panel by simply dragging and dropping them. Multi-select objects and drag them all at once.
You can also sort the panel items alphabetically by name,
type or group. This can be done by right-clicking the panel and selecting
Other Actions > Sort
by Name, Type or Group, or from the
panel's Options menu  .
The order will be saved in the plan and in the exported CPKG.
Filter the panel to display the required elements
From this list you can filter the panel to show content objects, variables or input data fields:
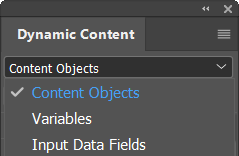
Choose the element type
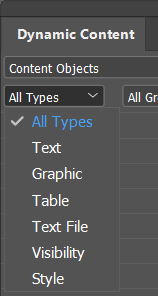
Choose the type of content objects, variables or input data fields that are currently listed in the panel.
By default, all types are listed. To filter the list and focus on a specific type (for example, graphic content objects or string variables), select the relevant type from the list:
Usage indicators
The Dynamic Content panel displays a rhombus icon next to content objects, variables and input data fields that are in use in the document or the plan. Items that are not in use do not display an icon.
 Outline rhombus:
The content object is placed somewhere in the document, but not on the
active spread.
 Filled rhombus:
The content object is placed on the active spread. For visibility
content objects, this also appears when the item is assigned to a
layer. For variables and input data fields, this indicates that the
item is referenced by the campaign plan.
Note: The usage indicator is based on the active spread — the spread currently selected in InDesign’s Pages palette — not the spread currently scrolled into view. To change the active spread, double-click a page in the Pages palette, or click inside the page in the document.
Filter by group
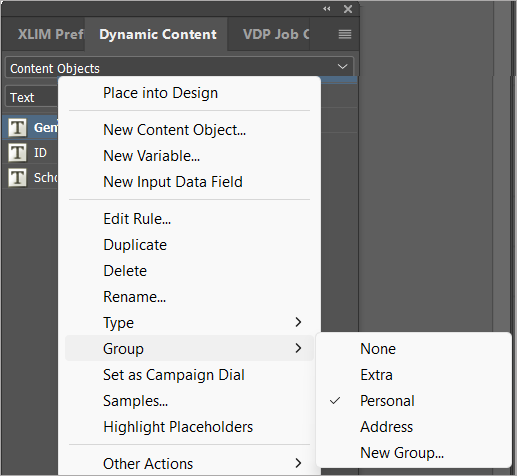
Groups help you better organize the elements you are working with. For example, create a group of all content objects that are related to the recipient’s physical location, including street address, zip code, city, state, country. You can filter the panel to display content objects or variables of a specific group, thus filtering out the elements you don’t need to work with.

To assign a content object or variable to a group, simply right-click it on the panel and from the menu select Group, and then point to the required group.
If no groups have yet been created, select New Group and give the group a name. The object will be assigned to the new group. Multi-select content objects or variables to assign them all at once.
Proof settings
Proof settings are used to proof your document.
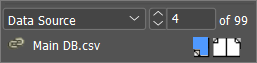
First, set the dropdown list to a data source, a proof
set, content or input data samples, and link to the relevant file. Then
use the record selection field  to preview the document
with actual data, by browsing through the records or by entering the number
of a specific record you wish to preview.
Visibility icons
The Dynamic Content panel also includes the following visibility icons:
|
|
Set active spread visibility |
|
|
|
Set active layer visibility |
|


When you assign visibility content objects to layers and spreads, you can display or hide layers and spreads, based on your dynamic document logic.
Audience-linked content objects
Content objects that are linked to an audience (using the
Link to Audience option in the
New Content Object dialog) appear with a distinct icon in the panel: 
For more information, see Managing Content Objects and Rule Editor.