Creating a MultiSafepay Clearing Model
MultiSafepay is a payment gateway which offers payment solutions for small business and large corporations. With MultiSafepay you can offer specific local payment options for Germany, Netherlands and Belgium and a wide variety of credit cards for all other countries.
In order to work with MultiSafepay, you have to open a MultiSafepay account and create a site. You can then continue to configure MultiSafepay in uStore.
Open a MultiSafepay test account
-
Go to MultiSafepay website: www.multisafepay.com
-
Click Create Account.
-
Click Create a test account.
-
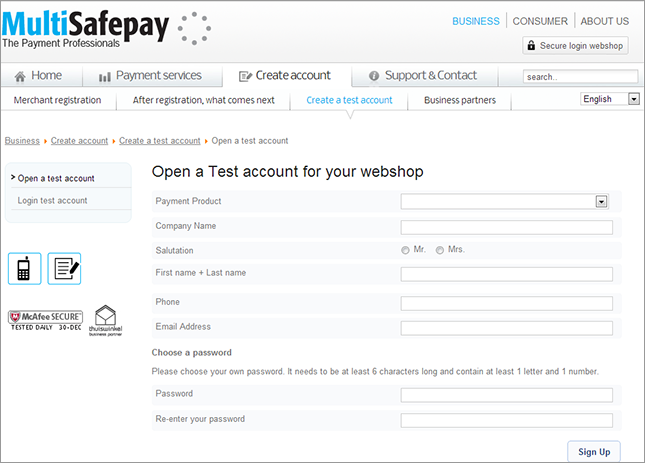
In the Open a Test account for your webshop section, fill in the registration form with your details.
-
Payment Product: select one of the following three options:
-
Fast Checkout: enables your customers to make payments quickly and easily in just 3 steps and a single login.
-
Connect 300: a payment method for shops with 0-500 transactions per month.
-
Connect 1000: a payment method for shops with more than 1000 transactions per month.
-
-
Company name: enter the name of your company.
-
Salutation: select Mr. or Mrs.
-
First Name + Last Name: enter your First Name and Last Name.
-
Phone: enter your phone numbers.
-
Address: enter your postal address.
-
Choose a password: enter and confirm your password. The password should be at least 6 characters and contain at least one letter and one number.
-
-
Click Sign Up.
-
When getting to the confirmation page, an email will be sent to you by MultiSafepay with your registration details (Account ID, Security Code and Log on URL). Save this information for future use.
-
To log in to MultiSafepay, click the Log on URL in your email.
-
In the login page, enter your Email address, Security Code and Password and click the Secure login button.
Your MultiSafepay test account is now set up. You can now proceed to create a site.
Open a MultiSafepay merchant account
-
Go to MultiSafepay website: www.multisafepay and click Create Account.
-
Click Merchant registration.
-
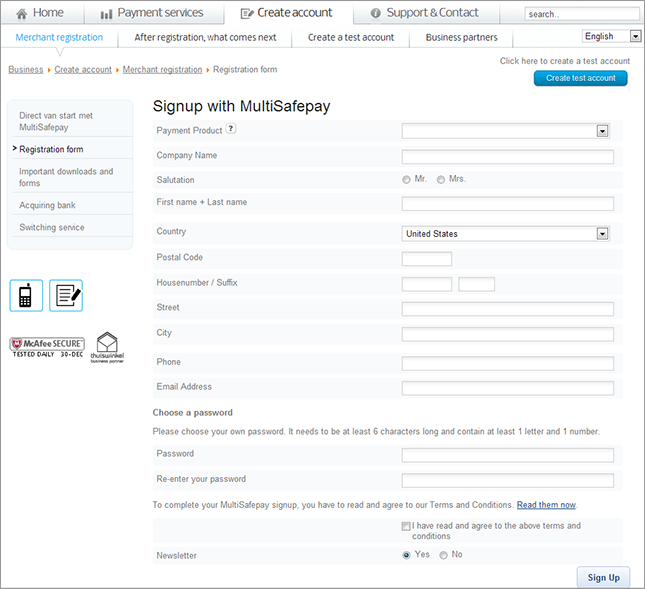
In the Signup with MultiSafepay section, fill in the registration form with your details.
-
Payment Product: select one of the following three options:
-
Fast Checkout: enables your customers to make payments quickly and easily in just 3 steps and a single login.
-
Connect 300: a payment method for shops with 0-500 transactions per month.
-
Connect 1000: a payment method for shops with more than 1000 transactions per month.
-
-
Company name: enter the name of your company.
-
Salutation: select Mr. or Mrs.
-
First Name + Last Name: enter your First Name and Last Name.
-
Country: select your country.
-
Postal code: enter your postal code.
-
Housenumber/Suffix: enter your house number.
-
Street: enter your street name.
-
City: enter your city.
-
Phone: enter your phone number.
-
Email Address: enter your email address.
-
Choose a password: enter and confirm your password. The password should be at least 6 characters and contain at least one letter and one number.
-
-
Select I have read and agree to the above terms and conditions.
-
Choose Yes if you want to receive the Newsletter.
-
Click Sign Up.
-
When getting to the confirmation page, an email will be sent to you by MultiSafepay with your registration details (Account ID, Security Code and Log on URL). Save this information for future use.
-
To log in to MultiSafepay, click the Log on URL in your email.
-
In the login page, enter your Email address, Security Code and Password and click the Secure login button.
Your MultiSafepay merchant account is now set up. You can now proceed to create a site.
Create a site
Once you have created a MultiSafepay account, you can define different sites associated with this account.
To create a site:
-
Log in to your MultiSafepay account.
-
In the Navigation tree, go to Settings and click Sites.
The Sites page is displayed.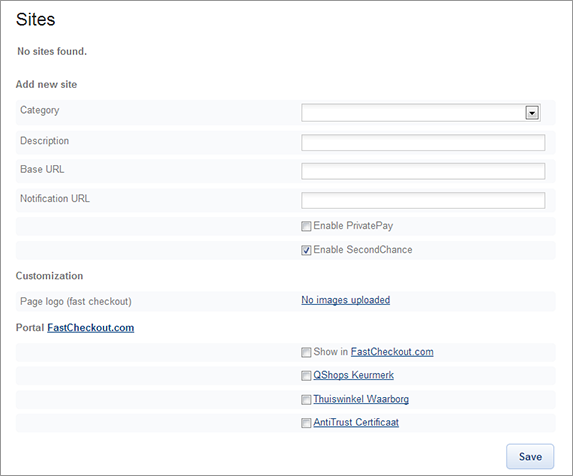
-
In the Category dropdown list, select your site category. The site category refers to your store type.
-
Enter the site description in the Description field.
-
In the Base URL field, enter the URL of your Store. For example, http://xmpie.com/uStore?storeid=4.
-
In the Notification URL field, enter the URL used by MultiSafepay to update the status of your order. For example, http://xmpie.com/uStore/Clearing/MultiSafePayNotify.aspx?StoreID=4.
-
To enable anonymous payments, select Enable PrivatePay. MultiSafepay ensures that the web owner has no access to the customer’s personal information. PrivatePay is only possible with non-physical products.
-
Select Enable Second Chance to automatically send your customer a payment link by email. This way the customer that left your web shop without completing the transaction can return to the website and finish the transaction at another time.
-
Click Save.
The website will be added to your account and two codes will be generated: the Site ID and the Site Security Code. You need these codes (together with the account ID) to set up MultiSafepay in uStore.
Configure MultiSafepay in uStore
Notes:
-
Prior to configuring the clearing model, make sure you have an active MultiSafepay account.
-
The bank transfer payment option is not supported in this version.
![]()
|
Field |
Description |
|
Name, Description |
Enter a name and a description for the clearing model. |
|
Status |
Select Active to make the Clearing Model available for the stores or Inactive to hide it. |
|
Clearing Method |
Select MultiSafePay Clearing.You will be prompted to fill in information which is exclusive to MultiSafepay clearing configuration. |
|
Account ID |
The Account ID of the MultiSafepay account. |
|
Site ID |
The Site ID of the MultiSafepay Site (Account > Settings > Sites >Site ID). MultiSafepay allows you to define several Sites for the same account. For example, you can create different sites for each uStore store under the same MultiSafepay account. |
|
Site Code |
The Site Security Code of the MultiSafepay Site (Account > Settings > Sites > Site Security Code). |
|
Currency |
MultiSafepay supports payments in Euro only. If the Primary Currency of the Store using the MultiSafepay Clearing Method is different, it will be converted to Euro according to the conversion tables defined for that Store. Make sure that the conversion rates used by the Store are up-to-date. To verify conversion rates:
|
|
Use Server |
Select Live to use the production server. Select Test to use the test server. |
|
Description Template |
Template for the order description shown on MultiSafepay website. The default template is {1}, order #{0}, where {0} is the order ID and {1} is the Store name. You can modify the template using the following additional placeholders: {2} - Store Friendly URL {3} - Store Raw URL |
|
Notification HTML |
The HTML page that will be displayed to the customer after payment. By default, this page will display a redirect link to uStore. You can edit the HTML code using the following placeholders: {0} - return URL {1} - return to store text {2} - redirection message |
|
Auto redirect to store after ... seconds |
Define the time interval after which the customer is redirected from the Notification HTML back to uStore. By default, the Notification page is displayed for 10 seconds. |
|
Data Collection Method |
Select MultiSafepay Clearing. |