Setting Merchant Info and Text Insertions
Merchant info
Store administrators often want to display merchant information in receipts and emails sent from the store.
This information can be entered in the Merchant Information section and will be displayed in all receipts and email templates in the storefront.
To add merchant information:
-
Go to Store Setting > Set up Store, and click the Appearance tab
-
Under the Merchant Information section, click Add.
The Merchant Address dialog box is displayed.
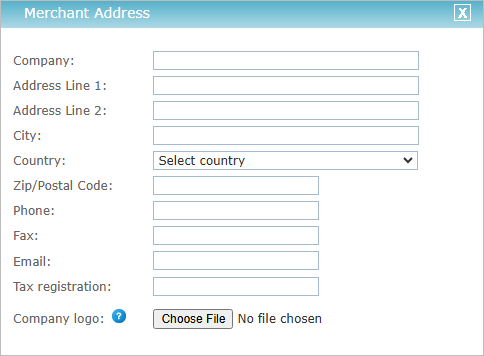
Fill in the fields you want to appear in your receipts and emails.
Note: The Merchant’s address is not restricted to the locations supported by the store.
-
If you want to add a company logo, select the required image.
The uploaded image must be either in JPG, GIF or PNG format and should not exceed the following maximum parameters: width: 450px,
height: 80px.Note: To change the default width and height of the logo, go to the MerchantIconMaxWidth and MerchantIconMaxHeight parameters in the Global Configurations Table.
-
Click Submit.
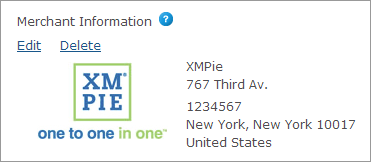
The dialog closes and the merchant information is displayed in the Merchant Information section.
Text insertions
Text Insertions enable you to add text messages, such as information or instructions, in various places at the store. You can add text messages in the following locations:
-
Order confirmation page
-
Order details page
-
Shopping cart page
The text messages will appear on the relevant page at the store.
You can also enable users to add comments at checkout by selecting the Show Order Comment Field in Checkout checkbox. Note that this option is not relevant for uStore Connect stores.
