Working with fonts
Uploading non-standard fonts to the touchpoint in the library ensures that your documents display text correctly. If you do not upload the fonts, the system might default to a system font that could compromise your document design.
Upload fonts to the touchpoint
If you are using non-standard fonts in your document, you must upload them to the touchpoint.
Uploading non-standard fonts to the touchpoint ensures that your documents display text correctly. If you do not upload the fonts, the system might default to a system font that could compromise your document design.
Before you can upload fonts, you must first upload the plan file and the data source.
Note: You can also upload fonts bundled in a .cpkg file from uCreate Print. A .cpkg file can be uploaded only from the Get Started: Choose an Option wizard. See Uploading a campaign package.
To upload fonts:
-
Open the library.
-
In the left pane, click Fonts.
The Fonts window is displayed.
-
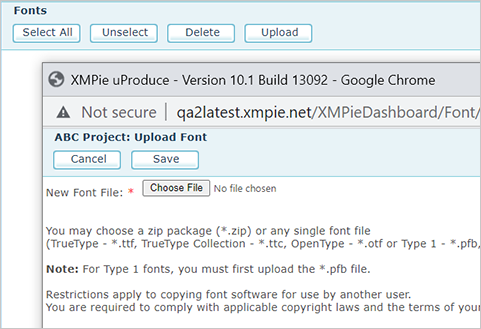
Click Upload.
-
In the Upload Font window, click Browse and navigate to the font or fonts you want to upload.
You can select a single font file or a zip package containing different fonts.
-
Click Open and in the Upload Font window, click Save.
Information about the uploaded fonts is displayed in the library.
Handle missing fonts during production
Circle allows you to specify how the system handles missing fonts during production of print touchpoints.
To handle missing fonts:
-
In the diagram, click the Production icon
 above the print touchpoint to open the Production dialog box.
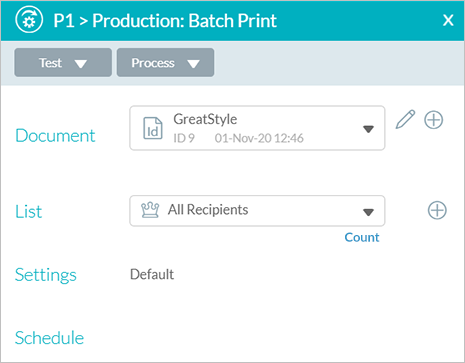
-
Click Settings.
The Production Settings window is displayed.
-
In the Policies area, select one of the following from the When fonts are missing dropdown list:
-
Ignore: continues to process the touchpoint in spite of the error. The output file includes the erroneous customer information.
-
Fail Job: stops processing this job altogether. No output file is generated.
-
-
Click OK.