uEdit overview
Welcome to uEdit - XMPie's web-based document editing solution. uEdit enables remote online editing of XLIM documents.
Consumers or corporate users who visit online web-to-print stores can customize document template content and design with a rich set of editing capabilities provided by uEdit.
In the back office you, the administrator, can modify the document using a set of editing tools, and also limit the storefront's user's editing capabilities using lock options.
In the storefront, the user can modify a document using the editing tools based on the permissions granted by you.
Work environment
uEdit consists of a main area that displays the loaded document (a XLIM file), and a wide range of editing tools. When you launch uEdit, the application automatically opens with the displayed document, which can be modified using the available editing tools.
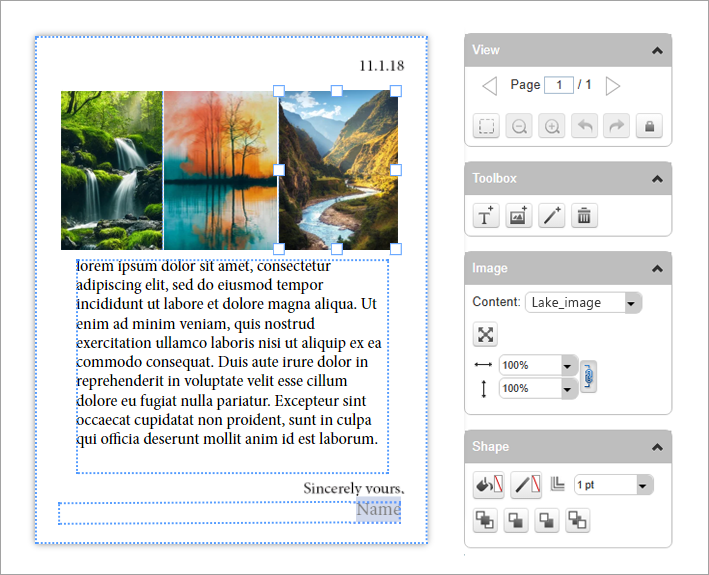
These tools change as a function of your selection:
-
The object type: text, graphic or line
-
The selection type: box or its content (e.g. a graphic file or a string of text)
To start editing, select the object that you want to edit and then click the required button.
Note that uEdit only displays the trim area of the document. If a document has also a bleed area, it will not be shown.
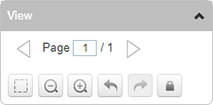
View panel
|
|
Toggles the display of object frames. |
|
|
Zooms in or out to fit the document within the preview area (horizontal documents only). |
|
|
Enables you to display a specific document page. You can either type the page number or use the Previous Page and Next Page arrows to navigate between the pages. |
|
|
Undo the last change and redo the last change you have cancelled. |
|
|
Control editing permissions by locking editing capabilities for text or graphic boxes. For further details, see Working with Lock Options. |


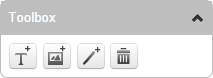
Toolbox panel
|
|
Places a new text box in the middle of the document page. You can move the text box to another location on the document. |
|
|
Places a new graphic box in the document page. This opens the Image settings dialog box, which enables you to insert a graphic file to the document. You can only insert files that have been previously uploaded to uProduce. |
|
|
Draws a new line. |
|
|
Removes a selected shape (text box, graphic box or line). |


Text panel

|
|
Enables you to select the font. The available fonts are controlled by the uStore administrator (the uEdit Fonts Selection field in the uEdit Setup page in uStore back office). The uStore administrator determines which campaign fonts from uProduce will be available for selection in uEdit. |
|
|
Select a font style: Regular, Italic Bold, or Bold Italic, etc. |
|
|
Sets the font size. |
|
|
Aligns the selected text to the left of the text box. |
|
|
Aligns the selected text to the center of the text box. |
|
|
Aligns the selected text to the right of the text box. |
|
|
Justifies the selected text. |
|
|
Aligns the selected text to the top of the text box. |
|
|
Aligns the selected text vertically to the center of the text box. |
|
|
Aligns the selected text to the bottom of the text box. |
|
|
Justifies the text in the text box. |
|
|
Sets the text color. The color palette displays a combination of preset basic colors and user-defined colors, which are saved in the XLIM document. |
|
|
Select a content object to add to the inline text. |


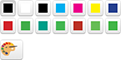

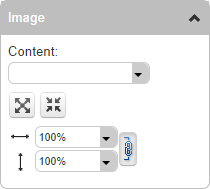
Image panel
|
|
Select a content object to tag the image. |
|
|
Fits image to frame. |
|
|
Fits frame to image. |
|
|
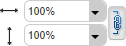
Resize the image horizontally and vertically. |
|
|
The Retain Proportions button is selected by default. This means that if you change the image size horizontally/vertically only, it will retain its proportions. You can detach the connection to separately resize the horizontal and vertical dimensions of the image. |


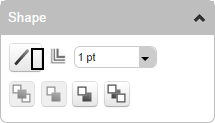
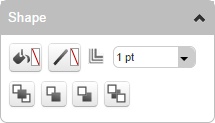
Shape panel
The Shape toolbox changes according to the selected shape (a frame or a line).
Shape toolbox for a line:
Shape toolbox for a frame:
|
|
Sets the color of the box’s background. |
|
|
Sets the color of the frame of a text or graphic box or of a line (also known as stroke color). |
|
|
Enables you to set the line thickness of a text or graphic box frame or of a line (also known as stroke weight). You can either enter the desired number of points, or select a preset width from the list. |
|
|
Brings the selected text or graphic element in front of all the other elements. |
|
|
Brings the selected text or graphic element forward. |
|
|
Sends the selected text or graphic element backwards. |
|
|
Sends the selected text or graphic element behind of all the other elements. |


Editing capabilities
|
Layout |
|
|
Appearance |
|
|
Content |
|
Keyboard shortcuts
-
Shift + arrow: move the box up, down, right and left in large increments.
-
Alt + arrow: duplicate a box and move it in the indicated direction.
-
Resize while holding Ctrl (for graphic boxes only): only the box is resized while the size of the image remains the same.
-
Resizing while holding Shift: the size of the box changes proportionally.