Defining Localization Settings
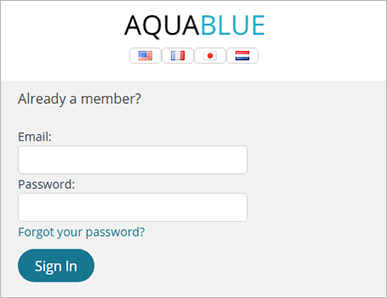
uStore customers are able to select a storefront locale when they log in. The various locales you define here are represented by national flags on the login page.
In this step you define localization settings, such as the currencies and languages used in the store and the required locales.
Currencies
In this area you select the currencies to be used in the store. You can select both primary and secondary currencies. The billing will always be performed using the primary currency. Secondary currencies are used for display only.
To define primary and secondary currencies:
-
Go to Store Setting > Set up Store, and click the Appearance tab.
-
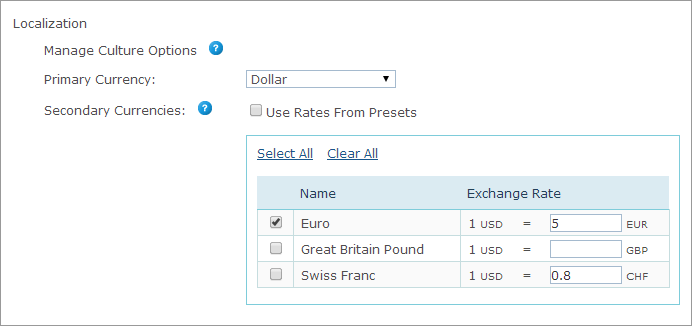
In theLocalizationsection, select the currency you want to use in the store from thePrimary Currency list.
The actual billing will always be performed in that currency.
Note that when changing the currency, a warning message notifies you that only the currency name is going to be changed, but there will be no price conversion from the previous currency to the new one. Once you change the currency, the new settings will take effect in the storefront price display. The previous orders will not be affected by the currency change.
-
If you want to select secondary currencies, in the Secondary Currencies table select the checkbox next to the currency name and enter the exchange rate. The currencies appearing here are the ones defined in the Presets > Currency Setup.
You can either use the exchange rates defined globally in the Presets or define exchange rates applicable for a specific store. By default, the Use Rates from Presets checkbox is selected and, as a result, the exchange rates defined in the Presets > Currency Setup are applied for the store. To define exchange rates that are different from the ones defined in the Presets and applicable for your store only, fill in the Exchange Rate field for the selected currencies.
The exchange rates are defined with respect to the primary currency. Please note that the primary currency is different from the reference currency defined in the Presets.
Supported locations
-
Select the locations (countries and states/provinces) supported by the store for billing and shipping addresses.
At least one country and one of its provinces (if applicable) must be selected. You can select all, clear all, or select only a few items.
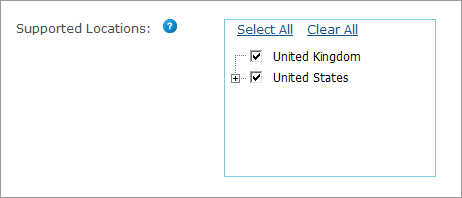
Note: By default, the list includes the countries and provinces/states whose Status field is set to Active in the Country and Province tables in the Presets.
Tax display and tax calculation
-
In theLocalizationsection, underTax Display while Shopping,select one of the following tax display formats that will be applied to your store:

-
Prices do not include tax: The product prices will be displayed without tax.
-
Tax is added to price: The product prices displayed in the store will include tax.
-
Custom price format: Enter the custom price format using the following writing notation (the custom price format must include the tax format):
{Price}: Price, tax not included
{Tax}: Tax only
{PriceIncludingTax}: Price including taxFor example: {Price} + {Tax} VAT
Note that the Tax Calculation Method field is displayed only when the Tax is added to price or the Custom price format options are selected.
-
-
In the Tax is calculated by a global county list, select the country according to which the taxes will be globally calculated. This list will only include countries that are marked as supported for this store in the Supported Locations section. Only taxes that are defined for this country will be used in that store (see the Country field value in the Tax table). If you selected a country that was later removed from the list of Supported locations, you will have to modify the selection by choosing another country.
Note: Tax Group is disregarded during tax calculation for shipping price.
Storefront culture
Define the store cultures. Note that only locales that appear in Presets > Localization are available for selection here.
When you create a new store, the Localization section initially contains the default setup culture defined in Presets > Localization.
-
In theLocalizationsection, click the Add New Culture link and select the locale you want to add from the Culture Name list.

-
Define the following:
-
Decimal Places and Decimal Separator displayed and select the Currency Pattern, Weight Units and Length Units.
-
Select the Storefront Default checkbox next to the relevant locale to set the store’s default locale.
-
Set the setup locale by selecting the Setup Culture checkbox next to the relevant locale.
The setup locale determines the language in which the store is configured in the backoffice. Only one Setup Culture may be selected.
The currency used at the store can be changed as long as there were no orders made at the store. Once an order has been submitted, the currency for that store is set and cannot be changed.
-
-
Click

The locale settings are represented by national flags and are visible to customers on the login page. In a public store, the flag icons are available in the same location in all pages.