Working with touchpoints
Once connected to the uProduce system, all the touchpoints in your project diagram are displayed in the library.
The library is where project components are managed and configured. To access the library, you first have to connect to the uProduce system. See Connecting the Project to uProduce.
Add touchpoints
You can add new touchpoints to your project from the library or return to the diagram and, in the Plan tab, add more touchpoints there. If you create a touchpoint in the diagram, you need to save the project to see it in the library.
To add a touchpoint from the library, simply click the plus button and select the required touchpoint.
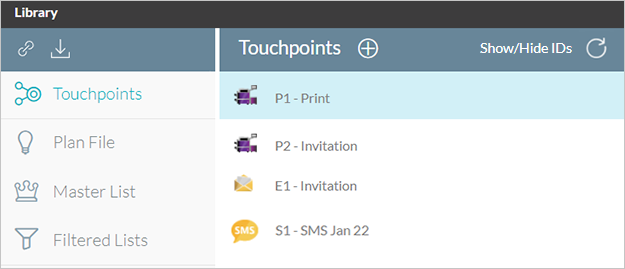
The new touchpoints are added at the top of the list. You can click the Refresh icon to sort the list in the default sort order (i.e. Type, ID).
Once new touchpoints are added, you can place them in the diagram using the Library Touchpoints button.
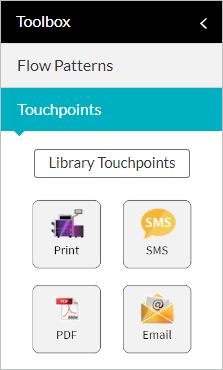
The list which opens contains only those touchpoints which have not been added to the flow. You can select a touchpoint to add it to the diagram.

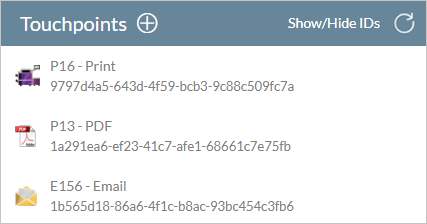
Show touchpoint ID
Click the Show/Hide IDs link to show the touchpoint IDs. This is particularly useful for copying the touchpoint GUID from the screen and pasting it into the API code.
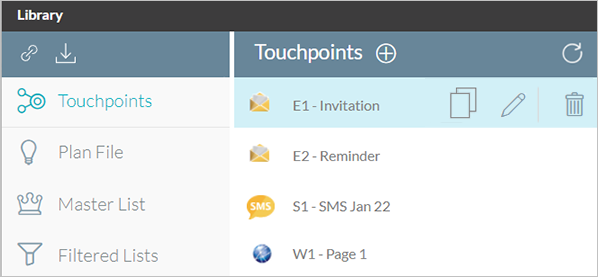
Duplicate touchpoints
In the library, you can duplicate an existing email touchpoint with all its settings and definitions (i.e. name, header, body, list, settings, schedule), excluding touchpoint ID, tracking and runs.
This speeds up defining similar touchpoints, with slight variations. It is typically used when doing manual A/B testing and manual throttling.
To duplicate an email touchpoint, select it in the Library
and then click  .
.
The newly duplicated touchpoint is added to the top of
the touchpoint list. You can then rename it by clicking  .
.