Creating Products
The following topic guides you through the process of creating a new product and configuring its initial settings.
-
Click the New button and from the displayed menu select the type of product you wish to add.
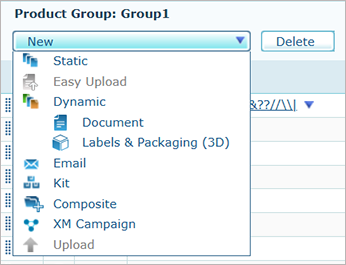
The Product Setup page is displayed.
-
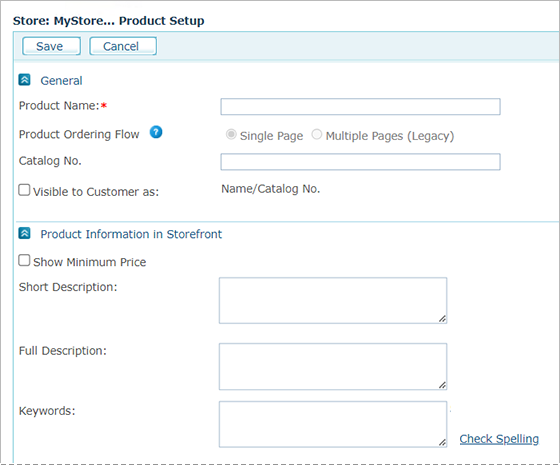
Specify the desired product definitions, as described in the following sections. Note that product setup definitions vary depending on the product type.
-
General - General information about the product, such as product name and catalog number.
-
Product Information in Storefront - Product details that will be displayed in the storefront, such as description and keywords.
-
Product document/template - The content of the product, which varies according to the document type:
-
Cross Media (for dynamic and email products) - Define a personalized URL for each recipient and select a dial that you wish to include in the personalized URL address.
-
Proof (all products excluding easy upload) - Enable customers to proof the product before purchasing and define proof settings.
-
Product Groups - Select the product groups in which the product will be included.
-
Pricing & Tax - Enable product pricing and select tax group.
-
Advanced Parameters - Additional parameters, such as product manufacturer and search engine optimization.
-
-
Click Save.
The new product is added to the products group.
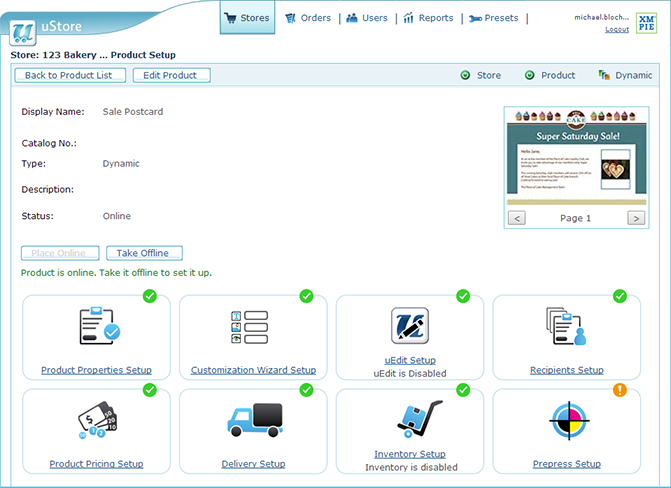
You can now continue to set up the product's properties, pricing and delivery options and additional settings.